Welcome back! Today, we will be creating an Azure Environment, and properly configuring it so it is ready to deploy Azure Sentinel in our next blog post so stay tuned!
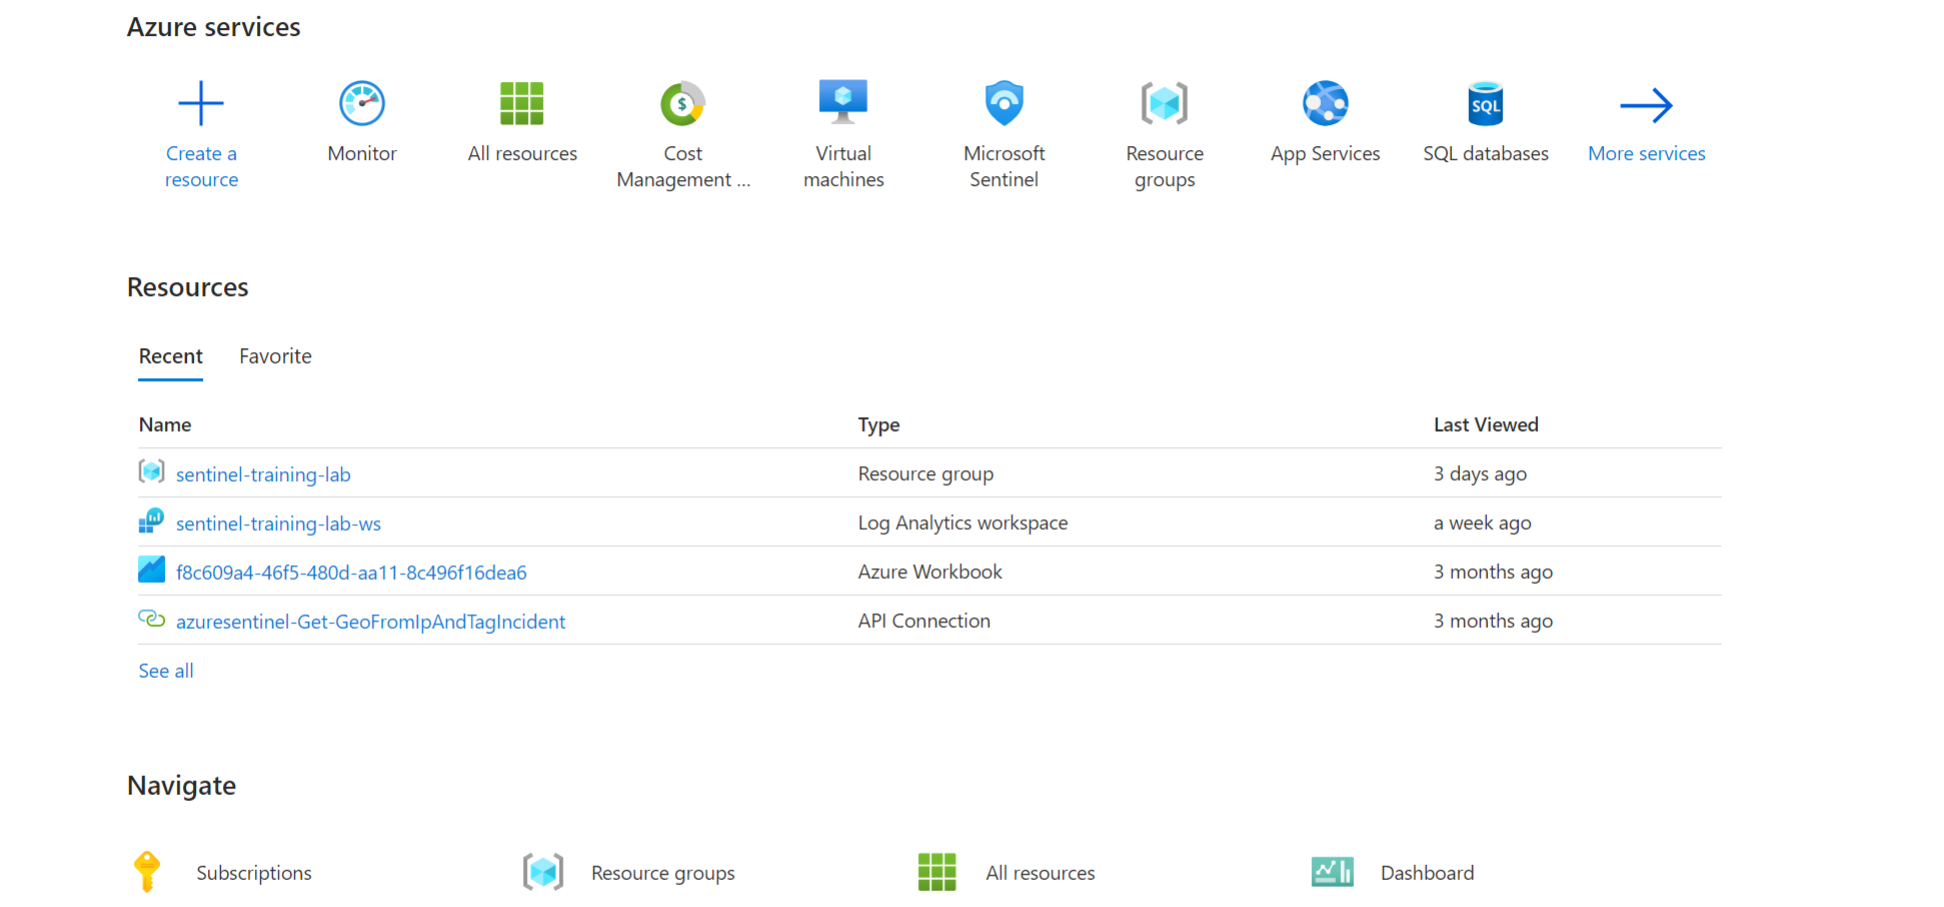
First, we are going to need to create an Azure account if you don’t already have one. A free tier account is more than sufficient for the projects we will be doing, so no need to worry about paying for anything. Head over to https://portal.azure.com after creating your account, sign in, and you will see a screen that looks like this below. This is what we call a dashboard for our cloud environment.

Note: Your dashboard will look similar, but obviously without any resources already created, we will dive into that extent on the next blog post.
Now, we can click on “Create a resource“.

Here we are presented with a plethora of options, so we will utilize the search function.
Go ahead and type in “Log Analytics Workspace“.

As you can see, there a multitude of different Log Analytic ‘Plugins’ that can be used, but we are going to focus on Microsoft’s LAW. Go ahead and click create a workspace, as we will be using it for Sentinel and other cloud security projects in the coming future.
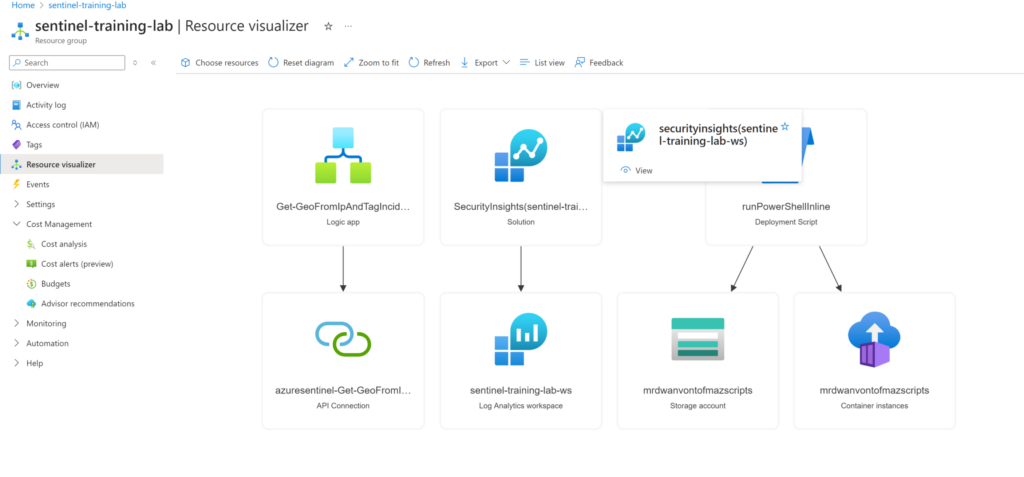
I am using a subscription from my college, but you will be able to use a free tier subscription in order to access these amenities to learn. Create a new resource group as shown below and name it sentinel-training-lab so you can easily find it later on.

Then, create a new instance, and name it sentinel. Skip the Tags section for now and click Review + Create. You will be prompted with a screen notifying you of what server it will be connecting to (based on region) , your subscription, and the cost. But don’t fret, it is free! We will minimize resources so it does not cost a penny.

Go ahead and click create, and that is all for this blog post. Check the next one for deploying Azure Sentinel and properly configuring it so we can proceed to analyze incidents.

