Welcome back! Here, we will be deploying Azure Sentinel, configuring and managing the cloud environment. If you haven’t already created your Log Analytics workspace, go ahead and check the last blog post to get it set up.
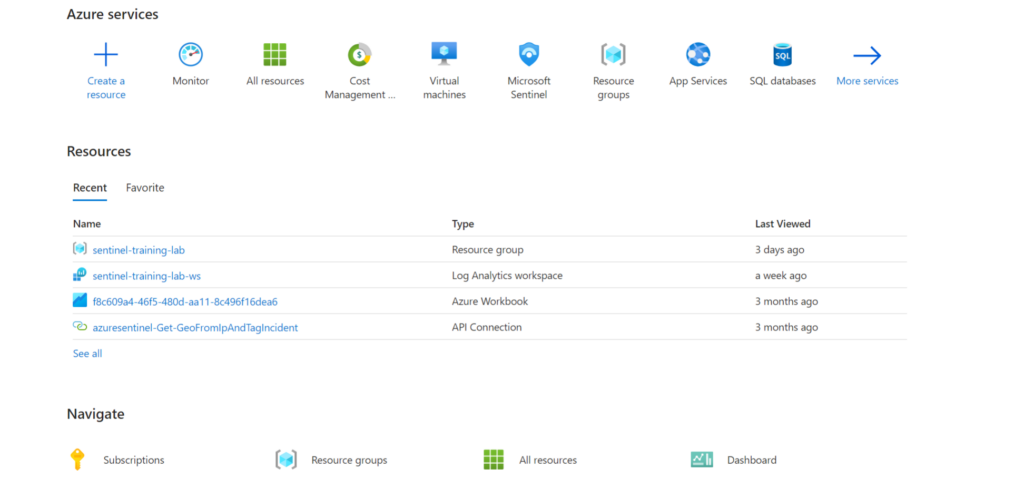
Navigate to the Azure Portal and login with your account. In the top search bar, type Sentinel, and click Microsoft Sentinel.

Here, we will click Create at the top left in the Sentinel dashboard. We will be adding Microsoft Sentinel to our previously created Log Analytics Workspace that we configured in the last blog post.

Since we already created our Log Analytic Workspace in our last blog post, we can now just add Sentinel to the previously created workspace.
It will take a couple minutes for Sentinel to deploy, but after that is done, we can proceed to the next step.
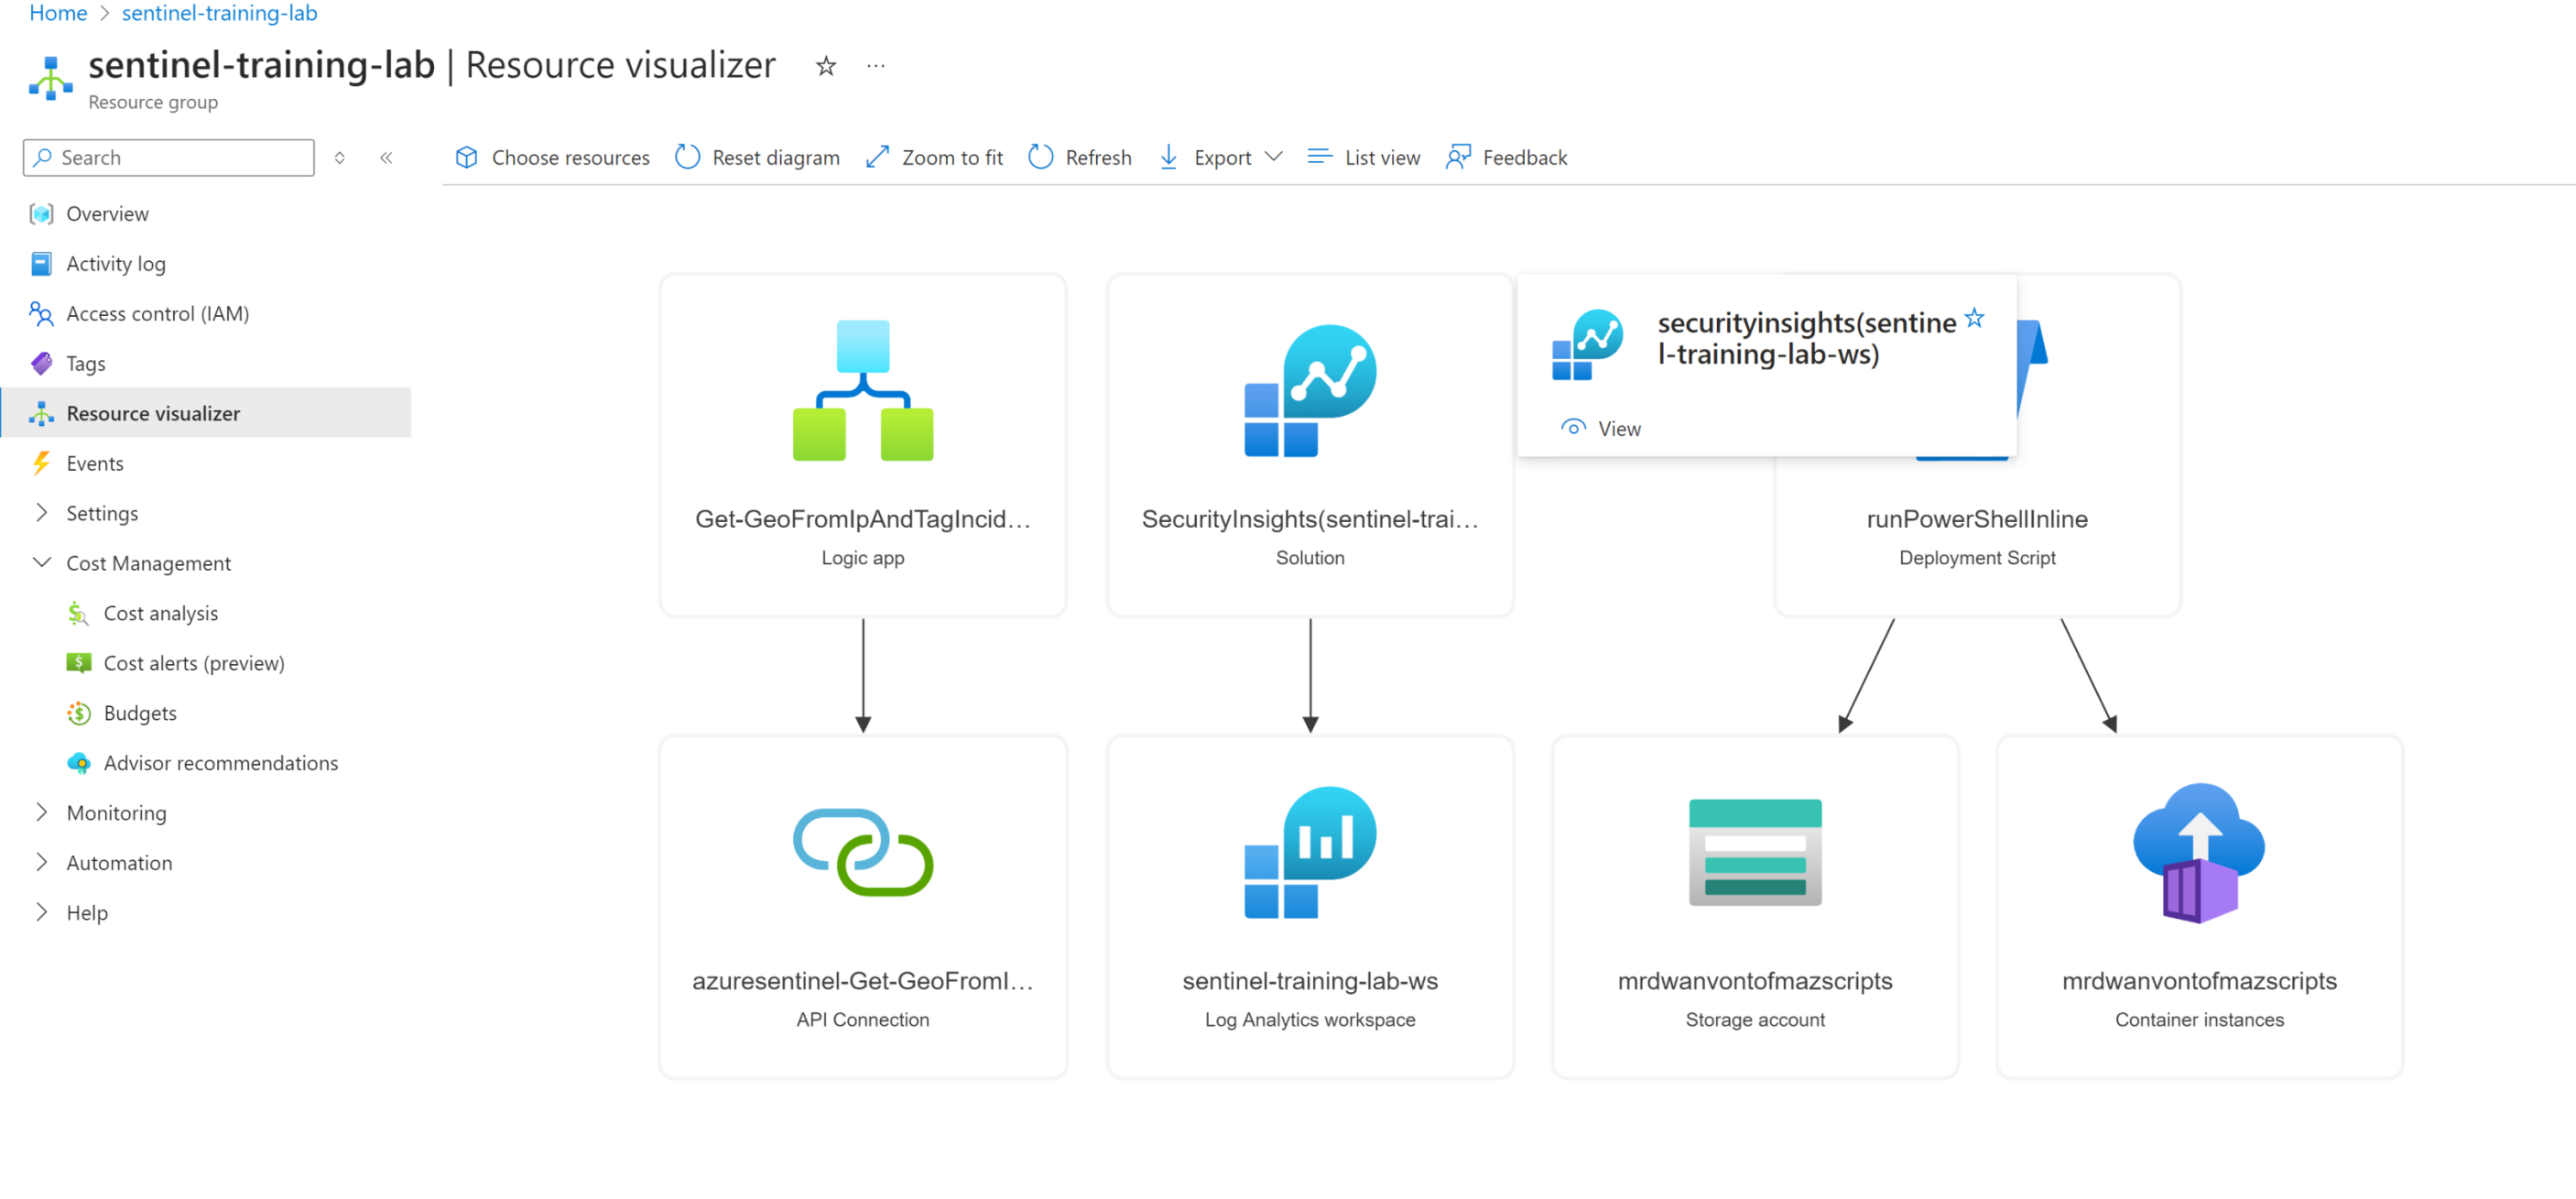
In our Azure Portal, we will type Sentinel Training in the search function and select the Microsoft Sentinel Training Lab Solution from the marketplace.

Click create, and we will be prompted with another dialog that asks us to configure the Lab Solution. Choose the resource group we have created, as well as the workspace.
Once the validation comes back OK we can now click Create.
Note: The deployment process takes roughly 10-15 minutes, to launch as well need to verify that all the 'ingested' data is ready for us to use once finished.
After the deployment finishes, we can head back to Microsoft Sentinel and select our workspace. To do this from the Azure Portal, type Sentinel and click the Sentinel service and choose the workplace we have created.
Here we are going to see the ingested data and several recent incidents. If it doesn’t show right away, take a quick break as it will appear eventually.

And this concludes everything so far for this blog post. In the next blog post, we will be configuring our Microsoft Sentinel Playbook which will be used in future labs.

